Interested in making wax melts and not quite sure how to get started?
We can help. Candle Shack’s experts in all things home fragrance and wax melts have gathered their best advice, tips and tricks in one convenient place. So dive in and join the wax melt fun, guided by experts!
How to make wax melts
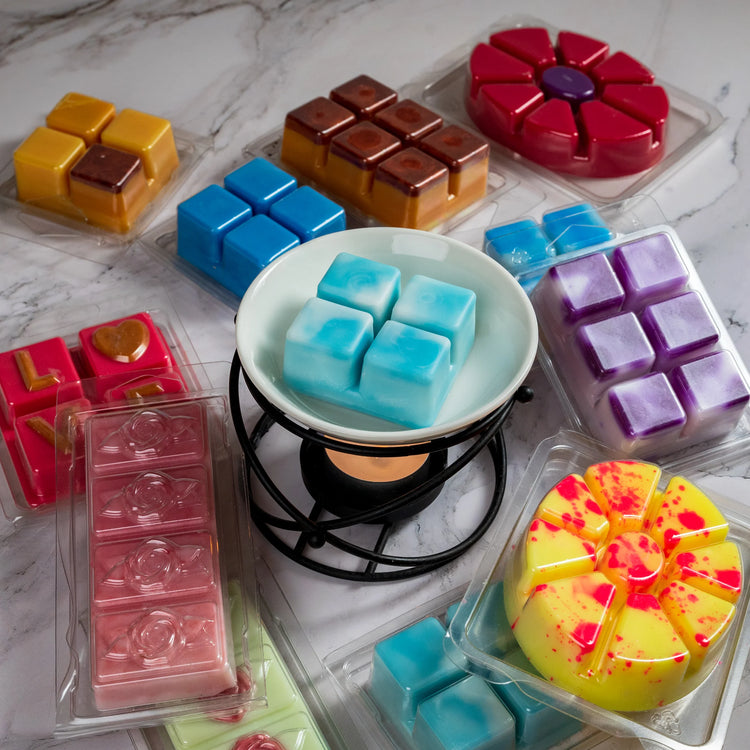
Step 1: Choose your clamshell or mould
First, the fun part: choose which shape and size you would like your wax melt to take.
Step 2: Choose your wax
Golden Wax 494
GW494 is the world's most popular soy melt wax. It outperforms all the other soy melt blends that we have tried with excellent mould release, depth of colour, scent loading, and high stability.
- Recommended fragrance addition temperature: 70-75ºC
- Recommended pouring temperature: 65 - 75ºC
- Recommended maximum content for fragrance oils: 10%
- Recommended content for essential oils: 8%
- Recommended content for concentrated fragrance oils: 5%
- Melting point: 52 - 58°C
- Avoid pouring if the temperature is lower than 60°C
RCX Melt Blend
Made from rapeseed and coconut oils only, RCX Melt Blend is an excellent wax melt wax. It is vegan-friendly, GMO-free and does not contain any additives.
- Recommended fragrance addition temperature: 60ºC
- Recommended pouring temperature: 45-50ºC
- Recommended maximum content for fragrance oils: 10%
- Recommended content for essential oils: 8%
- Recommended content for concentrated fragrance oils: 5%
High Performance Melt (HPM) Blend
HPM is a creamy wax melt wax made from a perfectly balanced blend of soy and mineral waxes. It offers a beautifully smooth finish, excellent colour and fragrance retention, as well as a powerful scent throw.
- Recommended fragrance addition temperature: 70ºC
- Recommended pouring temperature: 65ºC
- Recommended maximum content for fragrance oils: 10%
- Recommended content for essential oils: 8%
- Recommended content for concentrated fragrance oils: 3-5%
Step 3: Choose your fragrance
Finding the right fragrance for you
Picking a fragrance is a very personal choice and with so many fragrances available, it can feel overwhelming. Here’s a quick way to help guide you.
First, decide if you want to use fragrance oils or essential oils. Essential oils are made from natural ingredients. Fragrance oils are made from synthetic fragrance molecules.
Then think about the type of scents you like. We have grouped them in 4 categories: citrus and fresh, floral, fruity, and Oriental and woody. Once you’ve decided on a category, scroll through its catalogue and read its products’ scent card. They will tell you all the notes and aromas that are present in that fragrance.
Ensuring it can be used in a Wax Melt
Once you have found a fragrance you like, it’s important to check if it can be used in a diffuser and at which concentration. To do so, open its product page and click on the Fragrance & Product SDS button. Then, look for that fragrance’s IFRA certificate file and find the category 12 (this relates to the legally allowed concentration for wax melts). This will tell you if the scent can be used in a wax melt and its maximum concentration.
Step 4: Choose your colourants and decorations
Dye
Our solid Bekro dyes are highly concentrated colourants, available in all the colours of the rainbow. They will help you colour your wax melts in whatever shade you fancy, be it subtle or bold. We recommend using them at 0.1 – 0.2%”. The product page for each dye will give a specific recommendation, but you can experiment with higher or lower percentages to create your ideal shade.
Mica powders
Mica powders are vibrant powders that give a stunning shimmery aspect to wax melts. When melted, they make wax melts look like liquid metal. We recommend using them at 0.25% but experimentation is key.
Botanicals
Botanicals are dried and pressed flowers, barks and seeds - all responsibly sourced from high-quality natural materials. They are great to add a nature-inspired look to wax melts.
Step 5: Prepare your work station
First pick a flat horizontal surface to work on, making sure it is clean, dry and clear. If possible, we would recommend working at an ambient temperature of 18 to 25°C in a well-ventilated area and closing all doors and windows to avoid variations in temperature. Now that your worktop is ready, gather all your components and weigh them ahead of time.
Step 6: Prepare your recipient
Unpack your mould or clamshell and clean it using a soft cloth to remove any dust, dirt or fingerprints. If using botanicals, put them into your clean recipient.
Step 7: Prepare your dye (optional)
Using a Chandler & Me Candle Maker or a bain marie at 75 to 80°C, melt your dye while stirring continuously until liquid. Some dyes - particularly yellows - will melt at higher temperatures than others so be sure to keep stirring and gradually increase the temperature until your dye is fully liquid.
Step 8: Melt your wax
Bring your Chandler & Me Candle Maker or double boiler to your wax’s specific melt temperature (this can be found on the wax’s product page), then add your wax. Stir continuously until your wax is completely melted and has fully combined with your dye, if using.
Step 9: Add your fragrance
Bring your Chandler & Me Candle Maker or double boiler to your wax’s recommended temperature of fragrance addition, which can be found on the wax’s product page. Add your fragrance to your melted wax and stir until homogeneous.
Step 10: Add your mica (optional)
If using, add your mica to your fragranced wax and stir it continuously until your mixture is homogenous.
Step 11: Pour your fragranced wax
Bring your fragranced wax to your wax’s recommended pouring temperature. This can be found on your wax’s product page. Once at the correct temperature, slowly pour your mixture in your prepared vessels.
Step 12: Let your wax melt cure
Leave your wax melt to cure for 48 hours in a room without draughts at an ambient temperature of 18 to 25°C.
-
Wax melt glossary
Wax Melt GlossaryWax melt making is full of jargon and terminology, which can be confusing even to experienced creators. We’re here to help you make sense of it all and clarify those mysterious terms. Take a look at our wax melt glossary and learn all about wax melt making common terms and what they mean.
-
Wax Melt Recipes
Explore RecipesAre you looking to save some time on your testing process or a little lost with your moulds? Our recipes are here for you. Designed by experts, these tried and tested recipe are engineered to generate beautiful scent throws and gorgeous appearances that will leave your customers wanting more!